How to add a Tawk.to chat system in my WHMCS website
To add a Tawk.to chat system to your WHMCS website, follow these steps:
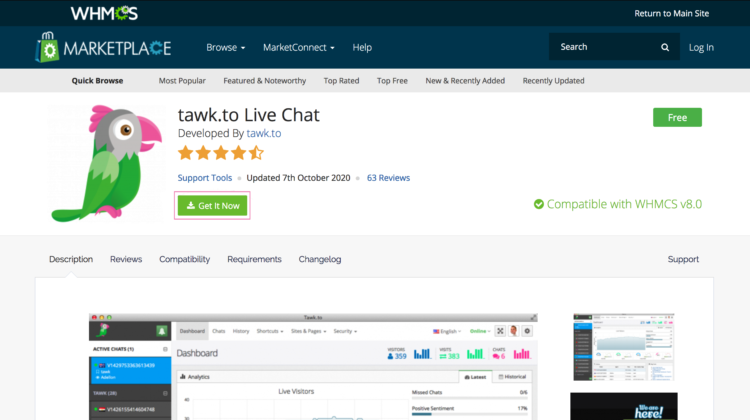
Step 1: Sign Up for Tawk.to
- Go to Tawk.to and sign up for a free account.
- Once you’ve registered, log in to the Tawk.to Dashboard.
Step 2: Get the Widget Code
- In the Tawk.to dashboard, go to Administration (cog icon) on the bottom left.
- Under the Property Settings, click Chat Widget.
- Copy the generated widget code that is provided.
Step 3: Add the Code to WHMCS Template
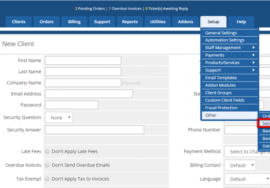
- Log into your WHMCS Admin panel.
- Navigate to Setup > General Settings > Other tab.
- Scroll down to the Custom HTML Head Output section and paste the Tawk.to widget code here. This will ensure the chat system is loaded across all pages.
- Click Save Changes.
Step 4: Customize the Tawk.to Widget (Optional)
- You can return to your Tawk.to dashboard to customize the appearance, behavior, and settings of the chat widget, including automated messages, chat triggers, and styling to match your WHMCS website.
Step 5: Test the Chat System
- Visit your WHMCS website and confirm that the Tawk.to chat widget is visible and functioning as expected.
With these steps, the Tawk.to live chat system will be successfully integrated into your WHMCS website, allowing you to offer real-time customer support.
Need Help? Contact us:
+91 98826 06526
+91 94594 16526
FaceBook
WebExpert1380@gmail.com